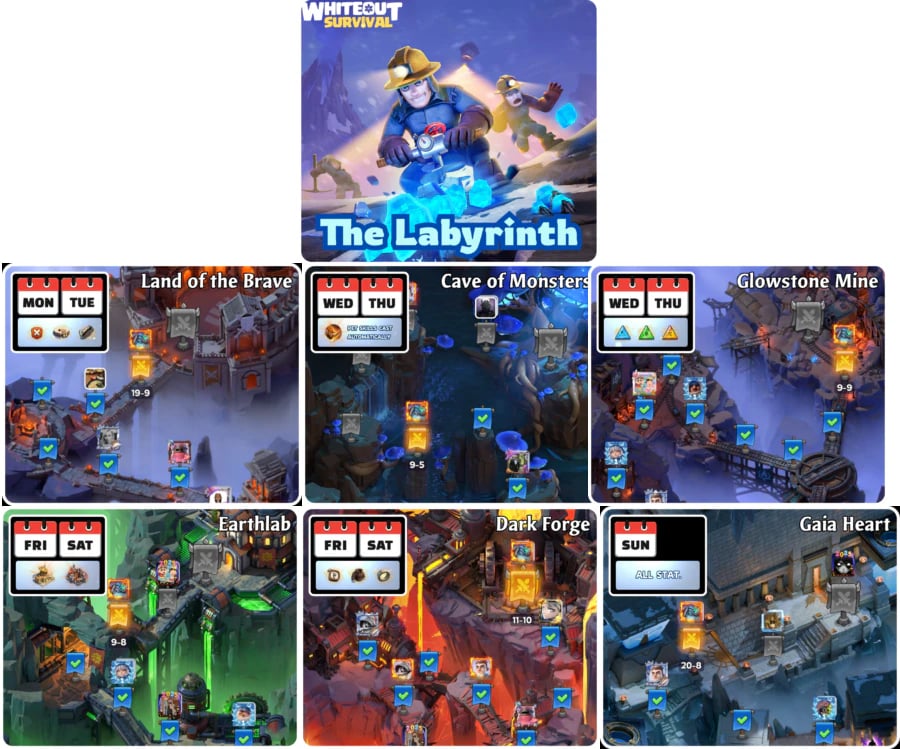
The Gaia Heart stage in Whiteout Survival’s Labyrinth is one of the most common progression walls players hit — not because of raw power, but because it quietly punishes poor formation logic.
Many players assume that if their heroes are strong enough, Gaia Heart should eventually fall. In reality, this stage is far less forgiving: small mistakes in troop balance or role placement can snowball into complete failure, even with solid heroes.
This guide is not a “guaranteed clear” formula.
Instead, it provides a stable, proven baseline formation that helps many players break through Gaia Heart when they’re stuck — and more importantly, understand why they’re stuck.
Why Gaia Heart Feels So Punishing
Gaia Heart is not a raw power check. It’s a formation and damage distribution check.
The stage pressures your lineup in three ways:
Sustained frontline survival under mixed damage
Midline stability against pressure spikes
Backline uptime without overexposure
If any one layer collapses too early, the fight usually snowballs out of control. That’s why players with similar heroes and power levels can have completely different results.
A Reliable Baseline Formation for Gaia Heart
The formation below is not universal, but it serves as a strong starting point for players whose progression is being blocked by structure rather than hero availability.
Recommended Structure
Frontline: Best Infantry + Best Lancer
Midline: Best Infantry + Best Marksman
Backline: Best Infantry + Best Lancer + Best Marksman
This setup focuses on damage absorption and distribution, not burst. The goal is to prevent any single lane from collapsing too early.
Why This Works
Infantry anchors multiple lanes instead of stacking risk
Lancer pressure is spread instead of concentrated
Marksmen stay active longer due to reduced early pressure
Many players find that simply correcting formation logic like this stabilizes fights that previously felt unwinnable.
Who This Setup Works Best For
This formation tends to perform best for:
Mid-game players progressing through early-to-mid Labyrinth generations
Players whose failures happen before the fight fully develops
Situations where frontline collapse happens too early
If you are deep into late-generation Labyrinth floors, results may vary significantly due to scaling. At that point, even correct formation logic may require additional durability or efficiency adjustments.

How to Tell If the Formation Is Working (Before You Even Win)
You don’t need a full clear to know whether you’re on the right track.
Signs the formation is working:
Your frontline survives past the mid-fight phase
Damage output ramps up instead of collapsing early
Losses feel “close” instead of one-sided
If your frontline collapses before mid-fight, the issue is usually not the ratio itself, but effective durability relative to Labyrinth scaling.
This distinction matters — and it explains why some players report success with similar formations while others don’t.
Efficiency, Progression, and Long-Term Play
At a certain point, Gaia Heart becomes less about brute-forcing and more about efficiency per attempt.
Some players choose to slow down and adjust rotations.
Others selectively optimize their progression — sometimes through resource planning or options like Whiteout Survival top up — to reduce dead runs and protect the time they’re already investing.
Neither approach is “wrong.” The key is recognizing when a formation problem ends — and a scaling problem begins.
Final Thoughts
Gaia Heart isn’t designed to be beaten by accident.
It rewards players who understand formation logic, damage flow, and survivability pacing.
This guide gives you a stable baseline, not a promise.
If it works immediately — great.
If not, it gives you the clarity to know why.
And in Whiteout Survival’s Labyrinth, that understanding is often the real breakthrough.