Home
Home BlogWuthering Waves 3.1 Overlord Boss Nameless Explorer: Complete Combat and Drop Guide
Wuthering Waves 3.1 Overlord Boss Nameless Explorer: Complete Combat and Drop Guide
 Jordan Taylor


Location and How to Unlock
The entrance to challenge the "Nameless Explorer" is located in the Starblind Crashsite within the Roya Frostlands, specifically inside the SkyArk Space Station.

Standard Unlock: Progress through and complete the Version 3.1 main quest "The Star That Voyages Far" to access this area normally.
Early Access: If you haven't finished the main story, you can always use the Boss Challenge feature in your Guidebook to initiate the fight via early access.
Pre-Battle Preparation and Overall Strategy
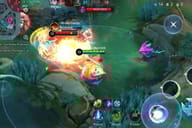
The "Nameless Explorer" possesses extreme mobility and aerial capabilities. Before engaging, please keep these strategic focal points in mind:
Capitalize on the Opening Window: At the very beginning of the fight, the boss goes through a lengthy start-up and arming animation. Fully utilize this time to unleash your attacks and execute a complete damage rotation to lower its health early on.
Air Superiority and Jetpack Destruction: The boss will frequently take to the air, making traditional melee characters easily lose their target. It is highly recommended to include characters with ranged attacks or strong aerial pursuit modules (such as the new 3.1 character "Aemeath
"). Additionally, use large area-of-effect skills to continuously attack and destroy the jetpack on its back. This will force the boss to crash-land, creating a perfect window for your team to burst it down.
Phase Mechanics Breakdown and Evasion Guide
When the boss's HP drops to 50%, it will enter its second phase, significantly increasing its attack frequency and move lethality.
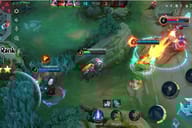
Phase 1: Standard Aerial Strikes and Hard Crowd Control
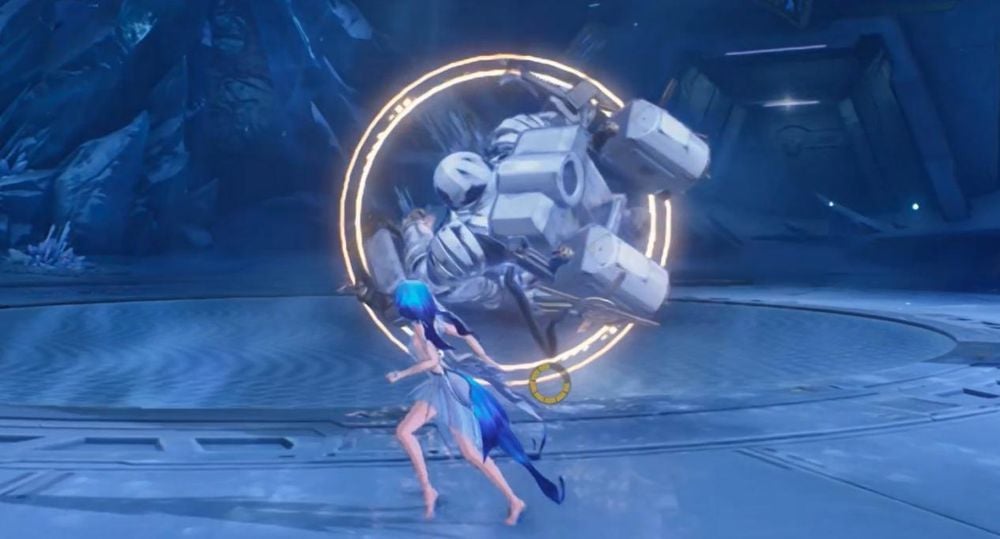
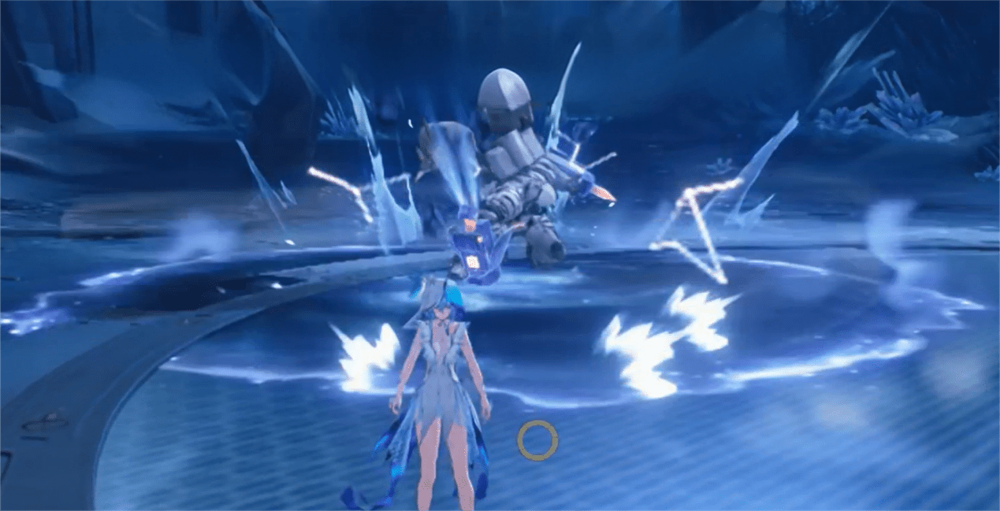
Lethal Grapple and Point-Blank Laser: The boss will crouch to charge up, flashing a red light, and then charge directly at your character with a "halo" prompt to initiate a grapple. Countermeasure: This is an extremely dangerous hard-control skill. Once caught, you will not only take full laser damage but also find it extremely difficult to heal during the animation. When you see the halo, prioritize a counter (parry) or a lateral dodge; you absolutely cannot afford to be caught by this.
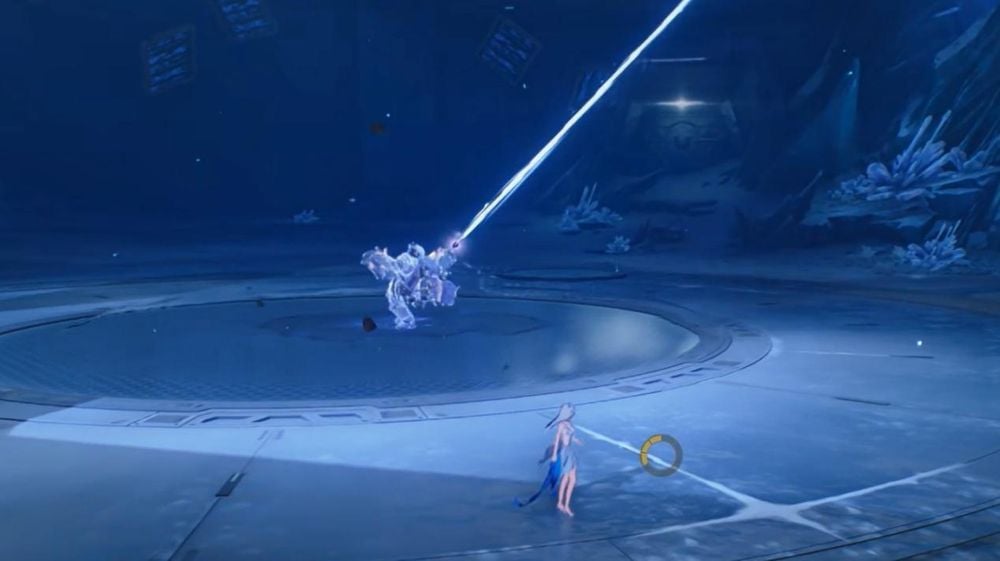
Punch/Kick and Aerial Laser Combo: The boss leaps into the air to smash down with a punch or kick, flips backward in mid-air to fire a laser, and finally smashes the ground. Countermeasure: This is a highly rhythmic three-hit attack. Maintain a rhythm of continuous dodging and sprinting away.
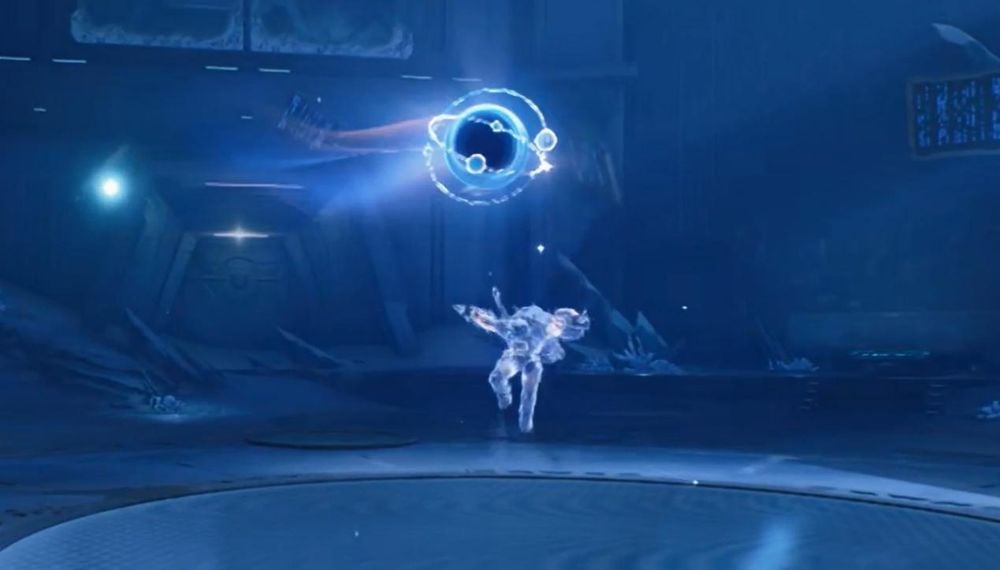
Meteor Split Attack: The boss jumps up and throws a light orb, which splits into multiple meteors crashing to the ground. Countermeasure: Sprint in the opposite direction away from the impact zone the moment the orb is thrown, or use consecutive dodges.
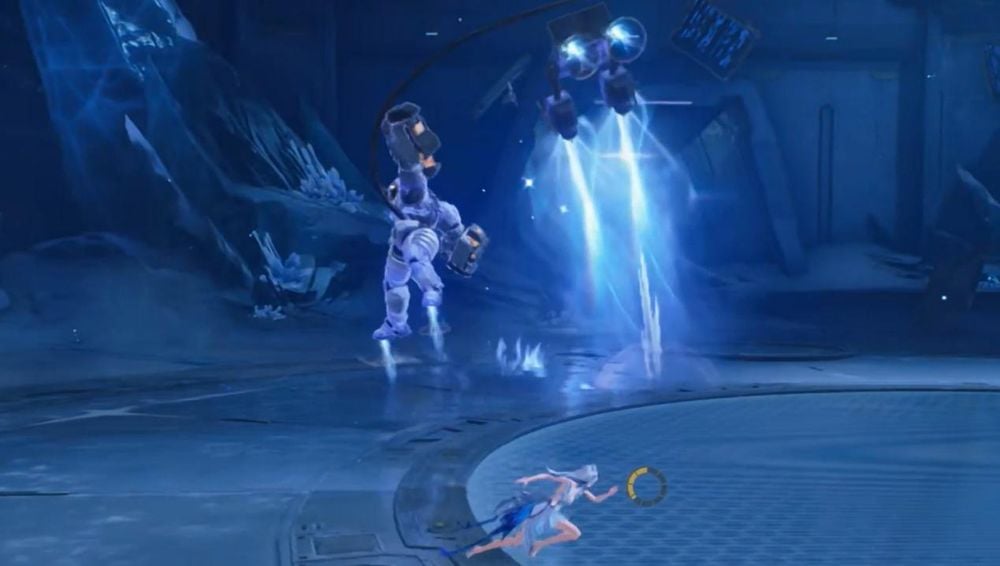
Arm Smash and Sweep: The boss leaps and smashes the ground with its arm, turns to strike again, and fires a laser sweep from bottom to top. Countermeasure: The attack range is massive. It is recommended to sprint continuously to the sides to get far away.
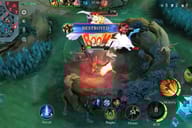
Phase 2: Half-Health Enhancement and Berserk Combos
Upon entering the second phase, in addition to retaining its phase 1 moves, it will add and enhance the following deadly attacks:
Giant Laser Slash: The boss will charge up for a long time, condense a massive, ultra-long laser beam, and slash violently at your character. Countermeasure: Watch the charging animation closely and execute a precise dodge the moment it swings down.
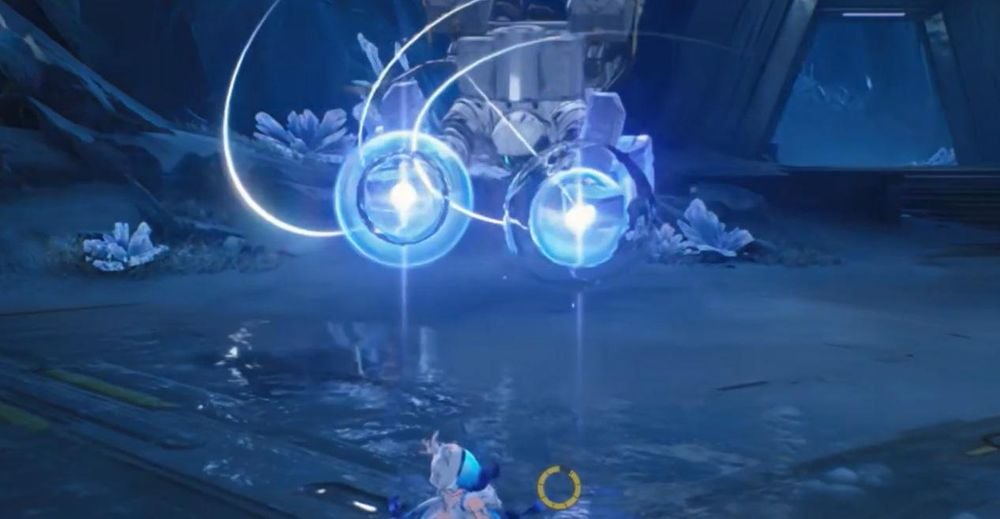
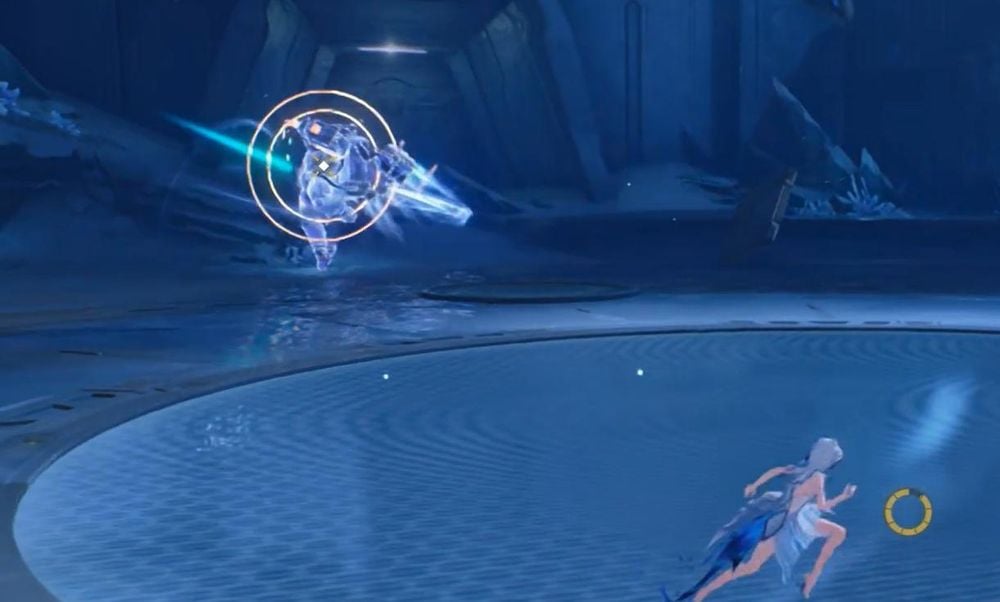
Four-Hit Dash and Orb Smash: The boss takes to the air and dashes at your character 4 consecutive times with a light sword, finally condensing a light orb with both hands to smash down. Countermeasure: During the dashes, "halos" will frequently appear on the boss. It is highly recommended to use counters to interrupt its dash rhythm. If you miss the counter, you must continuously dodge to avoid the final smash damage.
Death Spin and Enhanced Smash: Building upon the phase 1 arm sweep, after finishing the sweep, the boss will spin its body in mid-air, spraying lasers in all directions before heavily smashing the ground. Countermeasure: The range is even larger than in phase 1. Once you see it start spinning, you must expend stamina to sprint to the outer edges of the arena.
Core Drop Materials Overview
After defeating the "Nameless Explorer" and consuming Waveplates, you can obtain the following essential resources:
Exclusive Ascension Material: "Our Choice
" (This is also the core ascension material for new Version 3.1 characters like "Aemeath
Standard Rewards: Union EXP
, Echo: Nameless Explorer
, Advanced Resonance Potion
, Advanced Energy Core
, Advanced Sealed Tube
, Shell Credits
, etc.

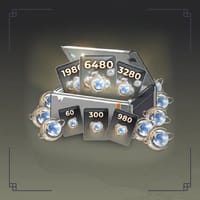
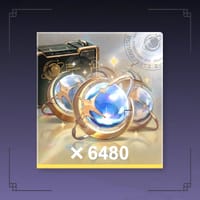
- 6480+1600 Lunites (Ver.3.1 Limited Offer)$71.99-$28$99.99
- Lunitas All-In-One Bundle$164.82-$36.12$200.94
- Insider Channel$7.39-$2.6$9.99
- Connoisseur Channel$14.78-$5.21$19.99
- Lunite Subscription$3.69-$1.3$4.99
- Lunar Causality$7.39-$2.6$9.99
- Horizon Lookout$7.39-$2.6$9.99
- Voyaging Star Chassis Set$18.48-$6.51$24.99
- Weekly Subscription$7.39-$2.6$9.99
- 60 Lunites$0.73-$0.26$0.99
- 300 Lunitas$3.69-$1.3$4.99
- 980+110 Lunites$11.08-$3.91$14.99
- 1980+260 Lunites$22.18-$7.81$29.99
- 3280+600 Lunites$36.97-$13.02$49.99
- 6480+1600 Lunites$76.99-$23$99.99
- 6480+1600 Lunites*3$250.97-$49$299.97
- 6480+1600 Lunites*5$424.96-$74.99$499.95
- 6480+1600 Lunites*10$859.91-$139.99$999.9